Hey hey! My mom and I have dwindled down my Wedding ‘ToDo’ List to barely nuthin’! Some last minute running around here and there which we’ll finish early next week and then we’ll be all set! Right now, I’m just soaking it all in, one day at a time. Yesterday afternoon, Randy and I met with Father Pat one last time to go over wedding rehearsal and wedding day things. It’s really getting close now!
Since I’m taking a little few week break from shooting right now, my schedule is weird – sometimes I wake up in the morning and forget what day it is! Totally unlike me, I really miss shooting. I can’t wait to take a million pictures along the California coast while on our honeymoon. I am used to being in my routine during the week. Usually my chaotic schedule is go go go, funny how you miss the hustle and bustle! Since I’ve had some free time, we decided to dive into some of the projects we’ve been putting off. On another note, this week I am trying to be really strict and eat healthy with no cheating. Well let me tell you…it’s about as fun as playing tennis alone. No going out to eat for this girl! I made a huge pot of vegetable soup. Let’s see how far I get without wanting to see another carrot again! ;)
Besides Wedding related talk, Randy and I renovated the kitchen about 3 months ago. (I will do a complete blog post of our process once I get a chance to gather all the photos I’ve taken). IÂ just wanted to share with yall our kitchen table project. After we re-did the kitchen, we were trying to figure out what to do with the previous table. Since I come from a huge family, all I kept thinking was….. the table must fit 8! It just has to! Well if we bought a new table that fit that many, there wouldn’t be much room to walk around. Our little starter house has just enough room for us two and our offices. We’ll save that 8 top table for our next house! Soooo anyway, we decided to just re-do the old table we had before. There was a couple of little naw marks on the seats and legs from where Randy’s brothers puppy had gotten a hold of it! We didn’t want to throw it away, so we brainstormed how we could make it better. I’m glad she chewed it because it made us think outside the box a little!
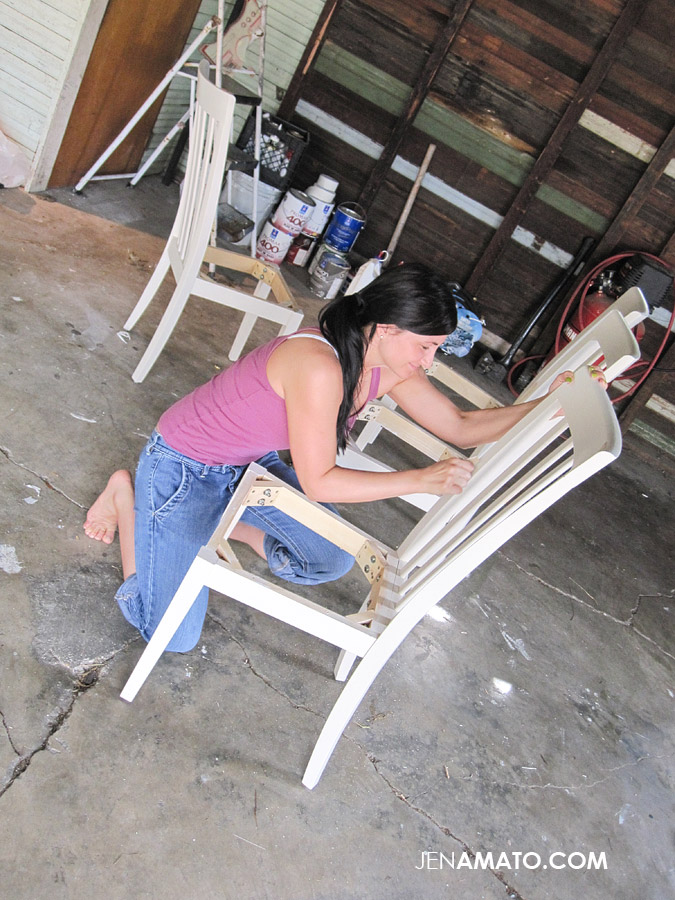
We brought the table in the garage and took the seats off all the chairs. Then Randy sanded down all the seats and some rough spots on the table. We wiped everything down and lightly sanded it all with fine sand paper.
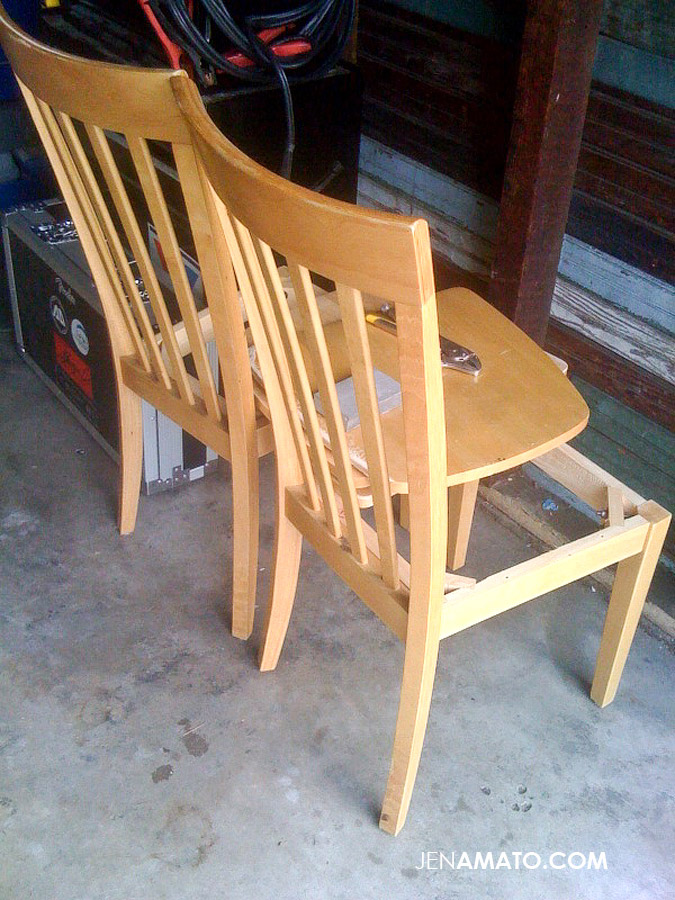
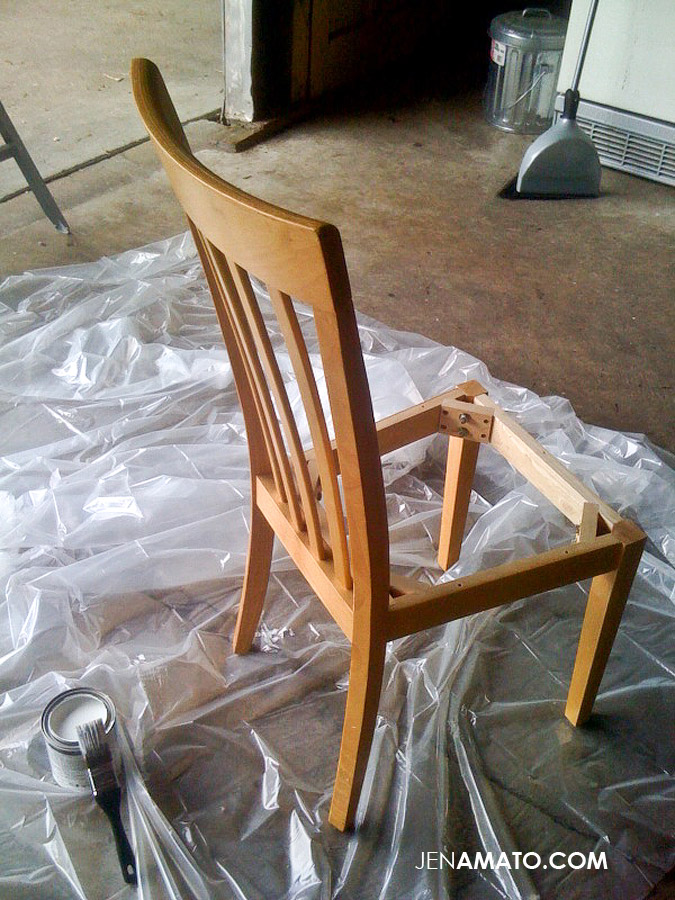 Next we began priming everything.
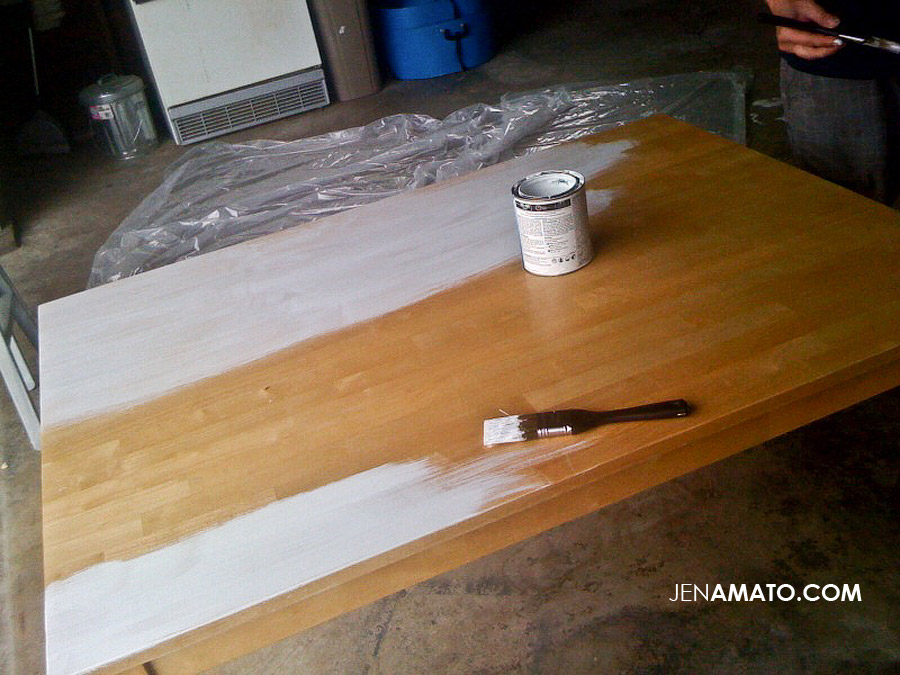
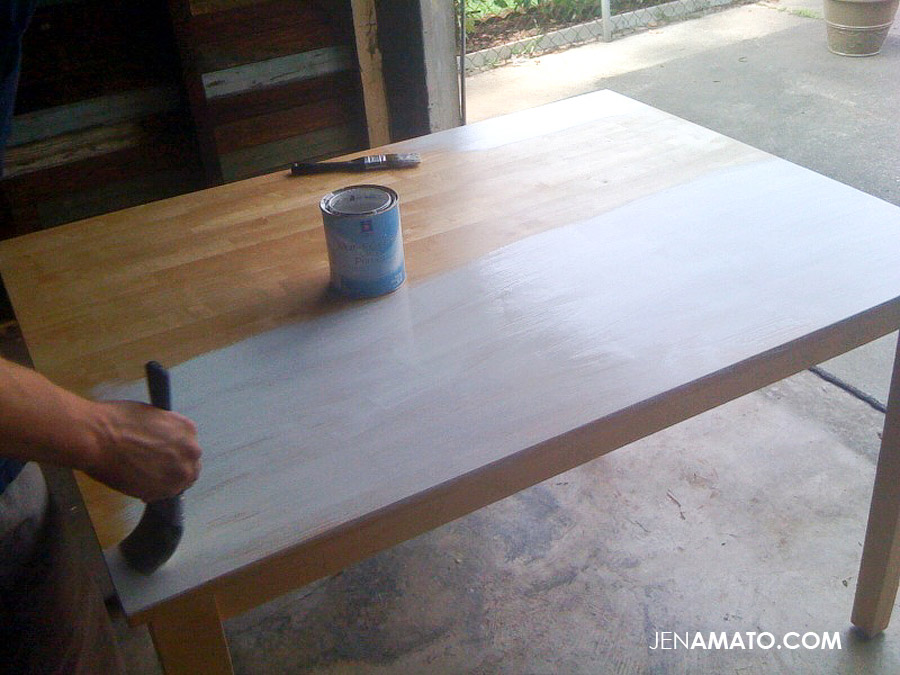
All 4 chairs primed.
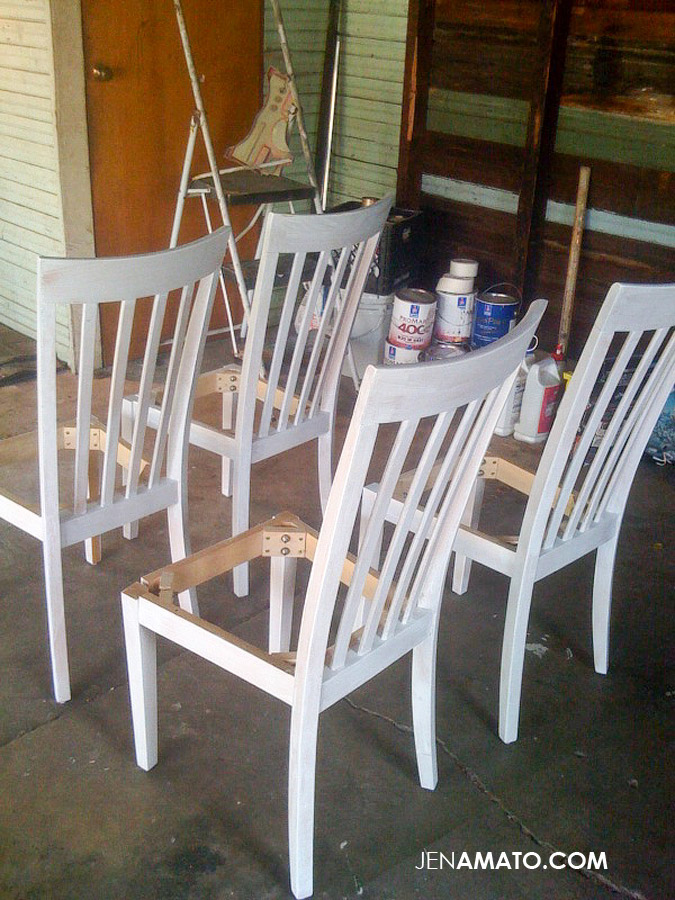 Applying “China Doll” paint color on top of the Primer. It’s almost a vintage white looking color. (We picked something similar in color to our new kitchen cabinets)
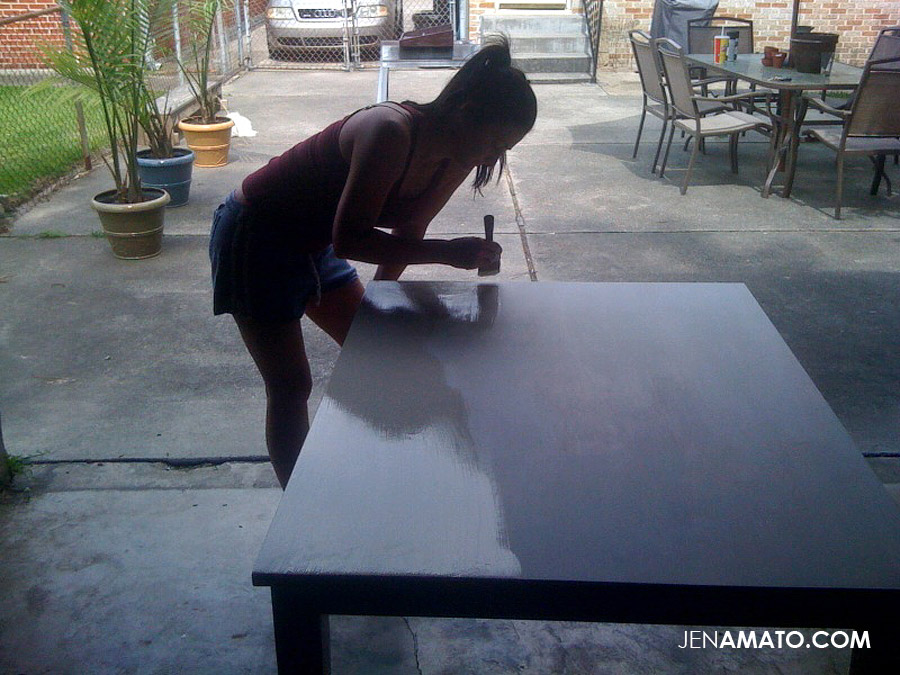
We both look a wreck in these photos. Sweating in the garage in the scolding heat of summer.
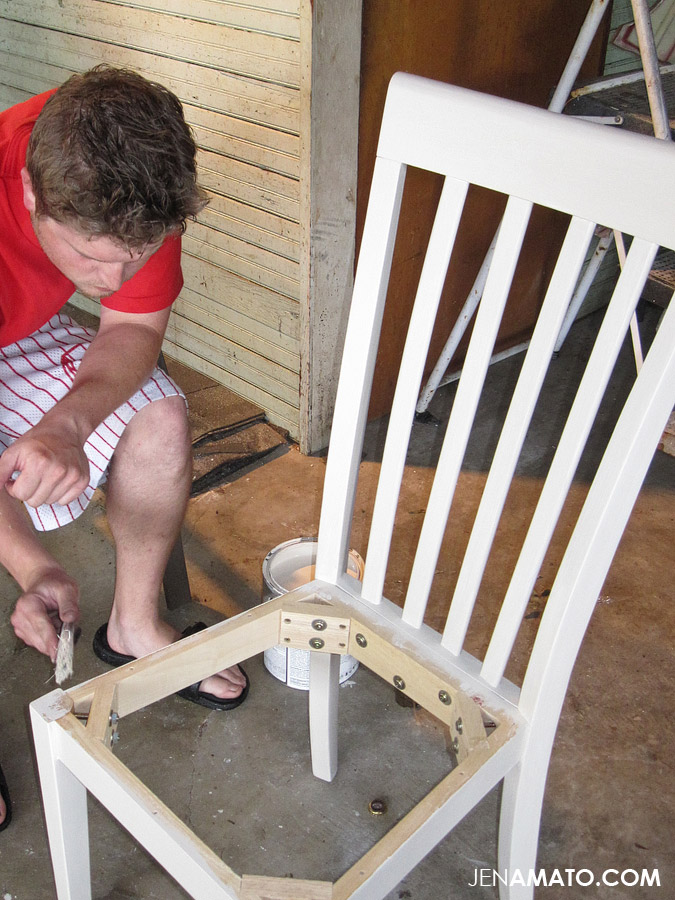
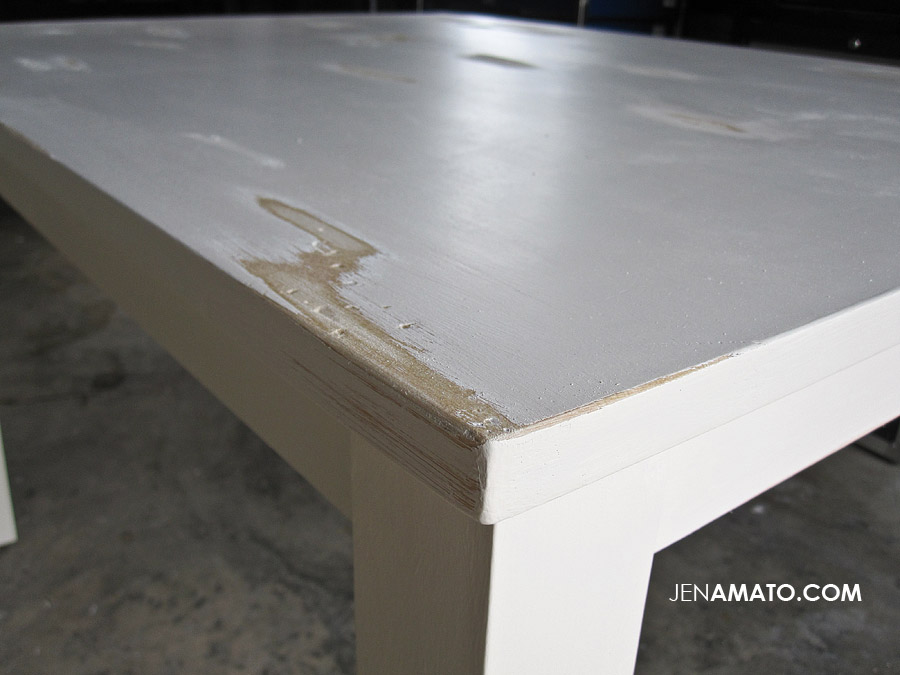
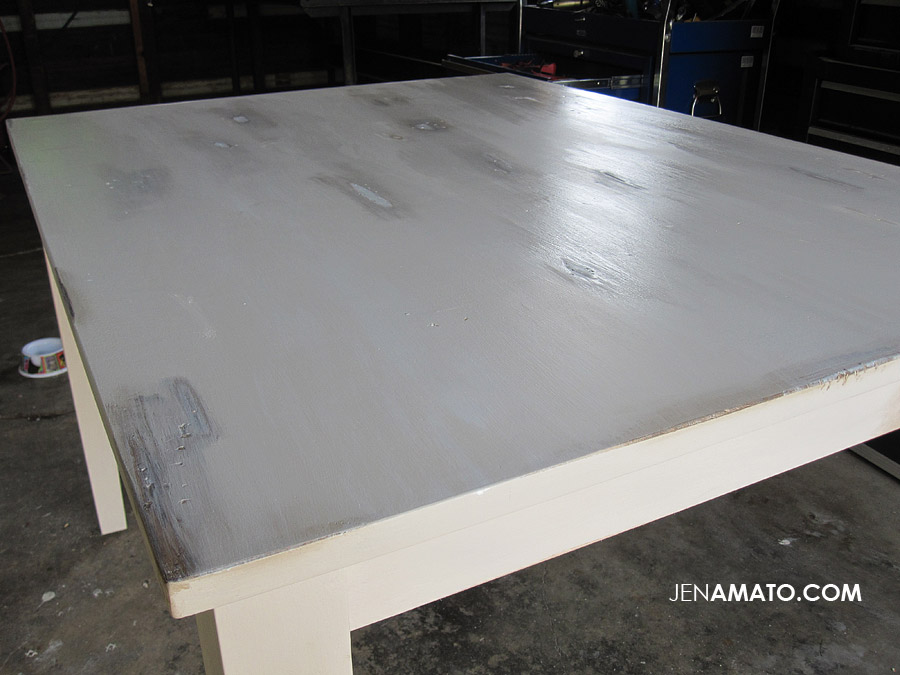
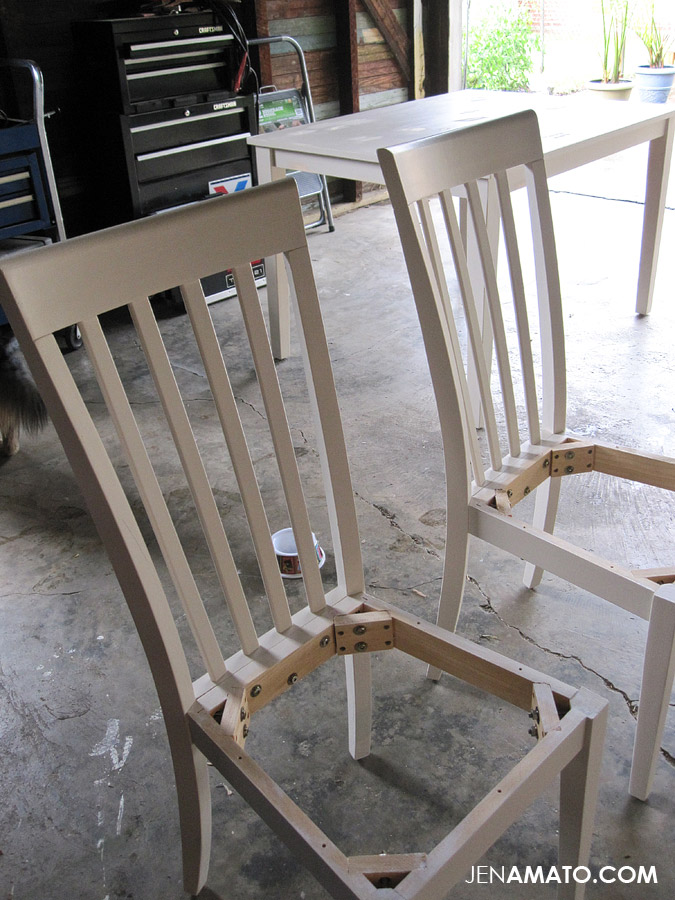 Now the distressing begins. We scuffled it up with sandpaper, and put little dings in it using this sledge hammer thing.
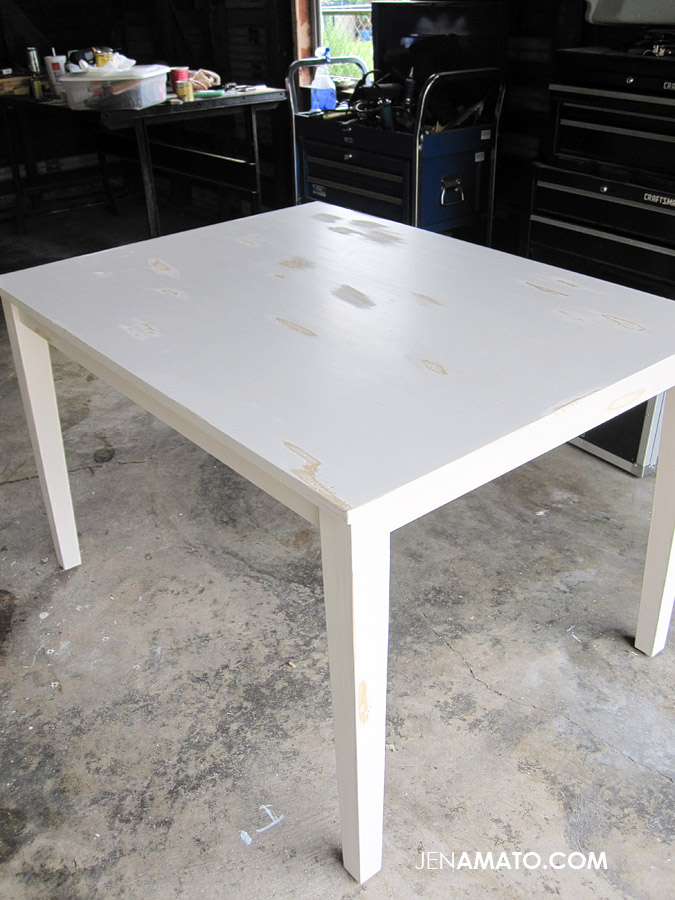 A closer look at the distressing.
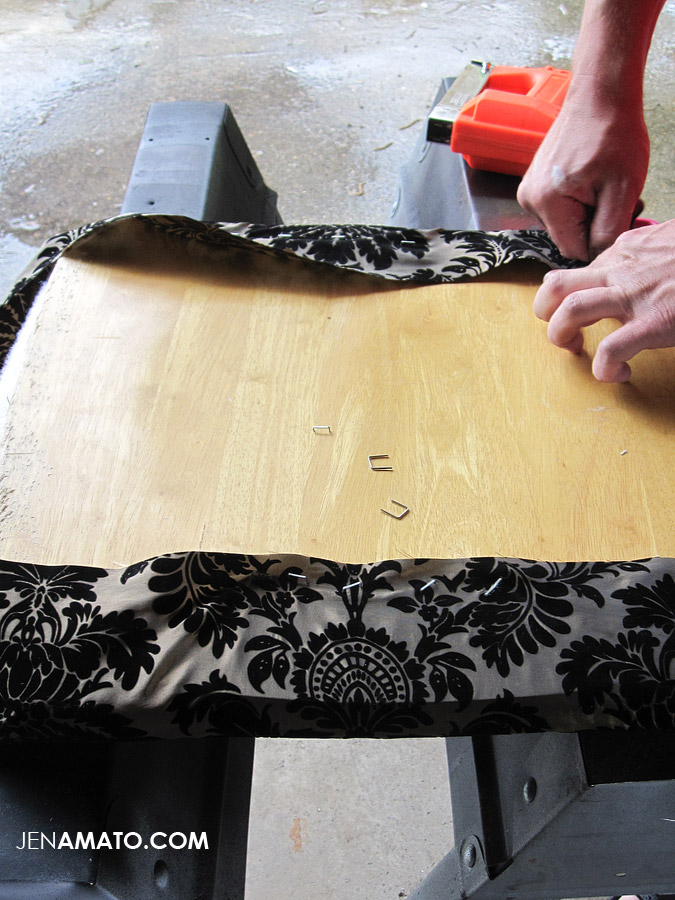
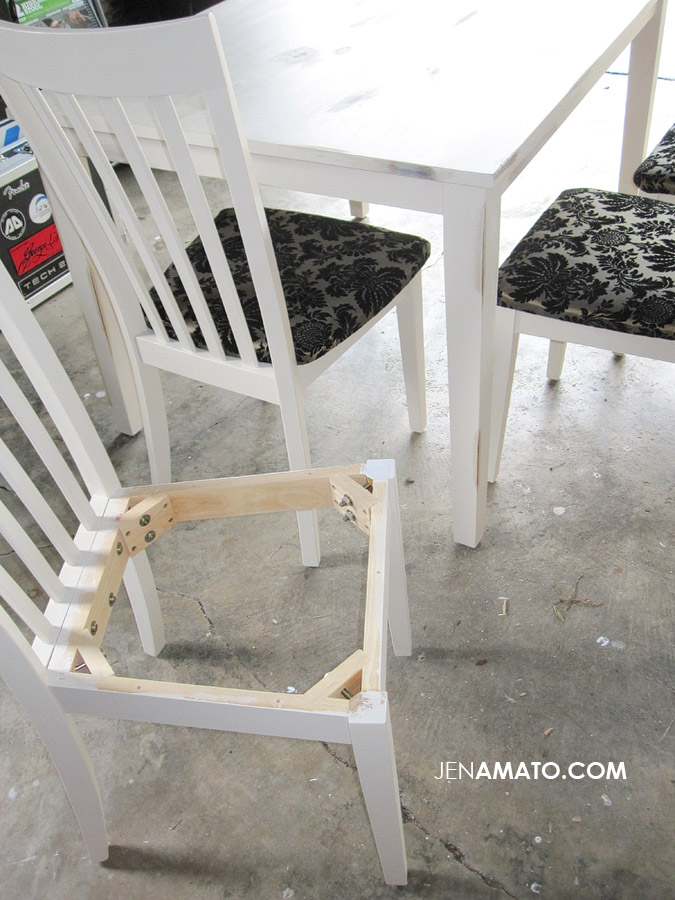
After we added cushioned padding, we wrapped all the chair seats in a Damask Fabric.
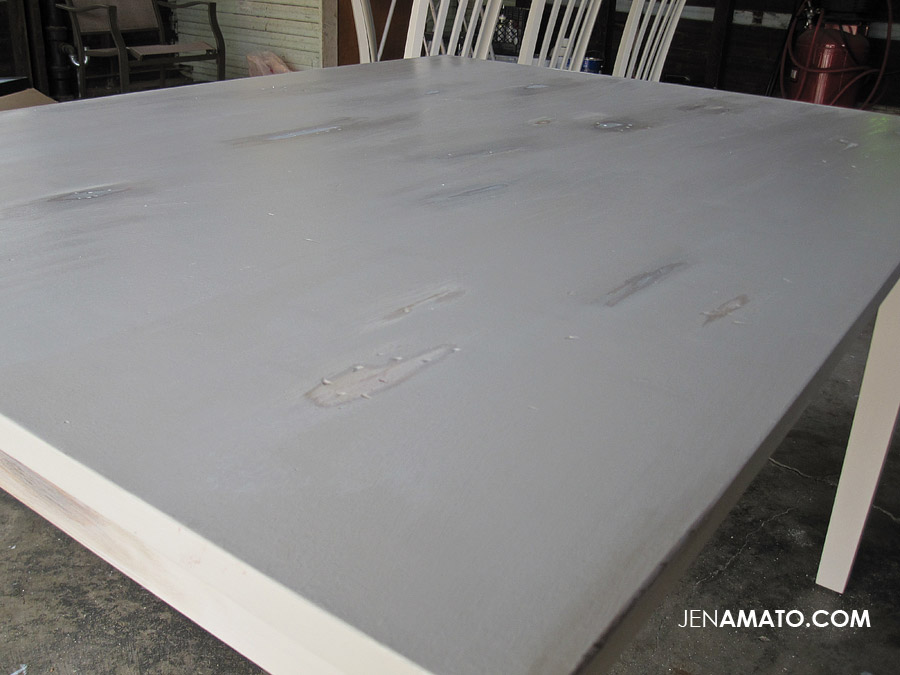
 Added wood stain to fill the spots and add more contrast.
Messing up some parts of the chairs with sandpaper.
 Cushions are added.
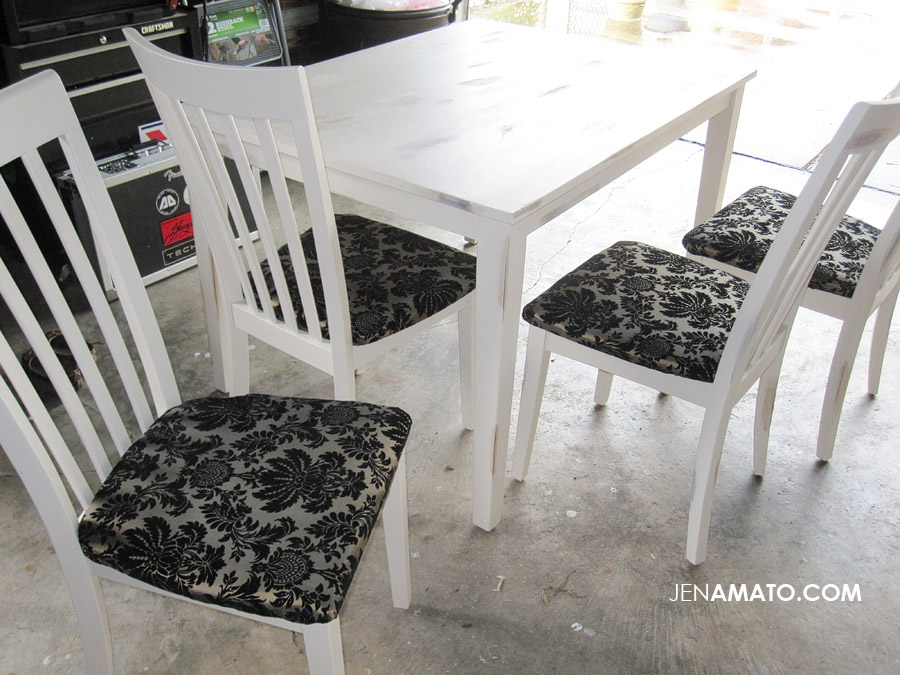
What it looks like in our kitchen. Fits perfect.
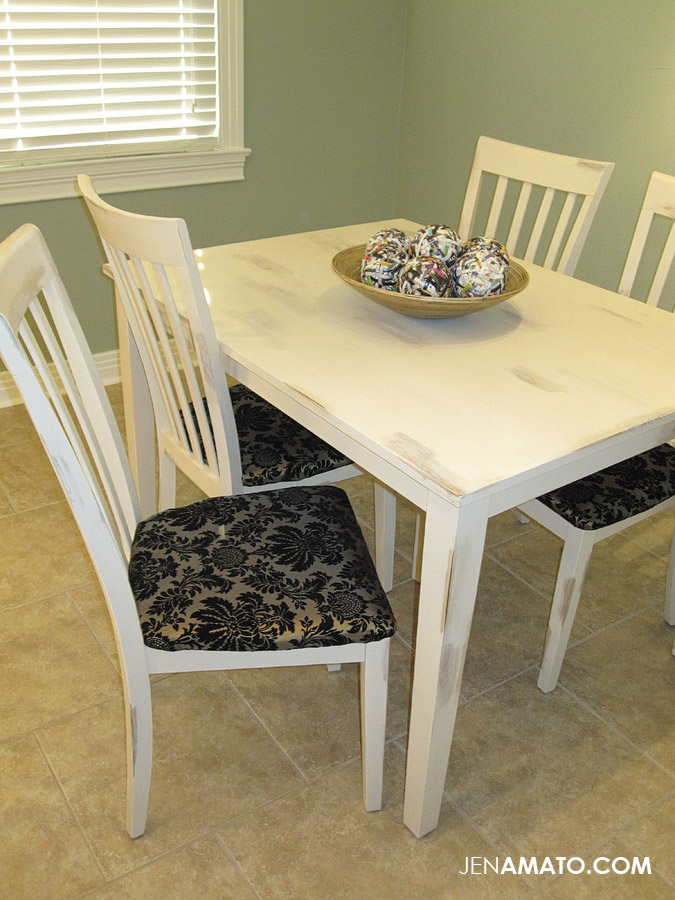 Matches our aged/vintage/distressed look of our kitchen.
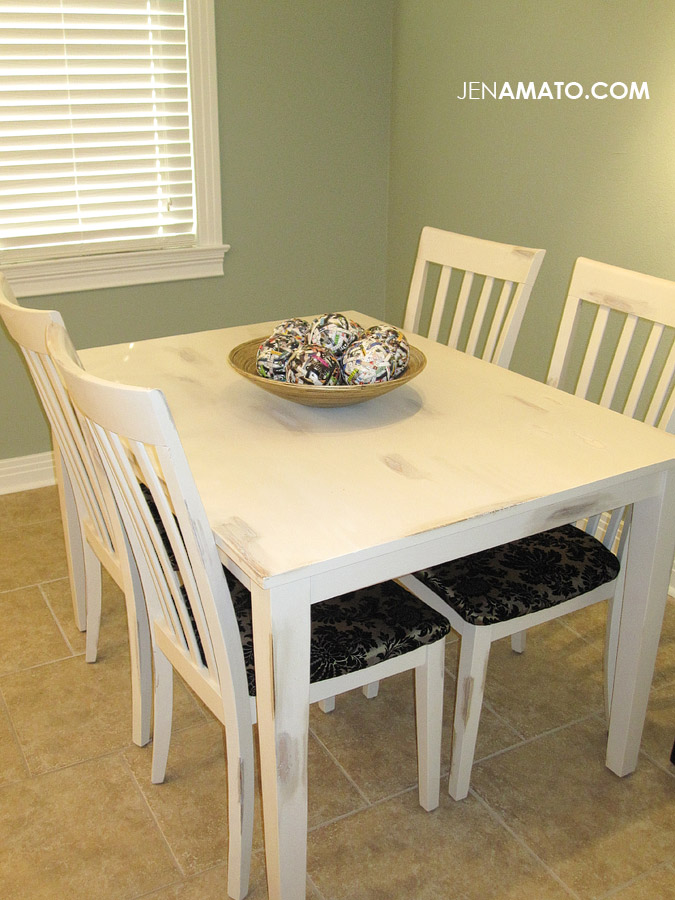 The 8 top table I originally wanted, will have to wait.
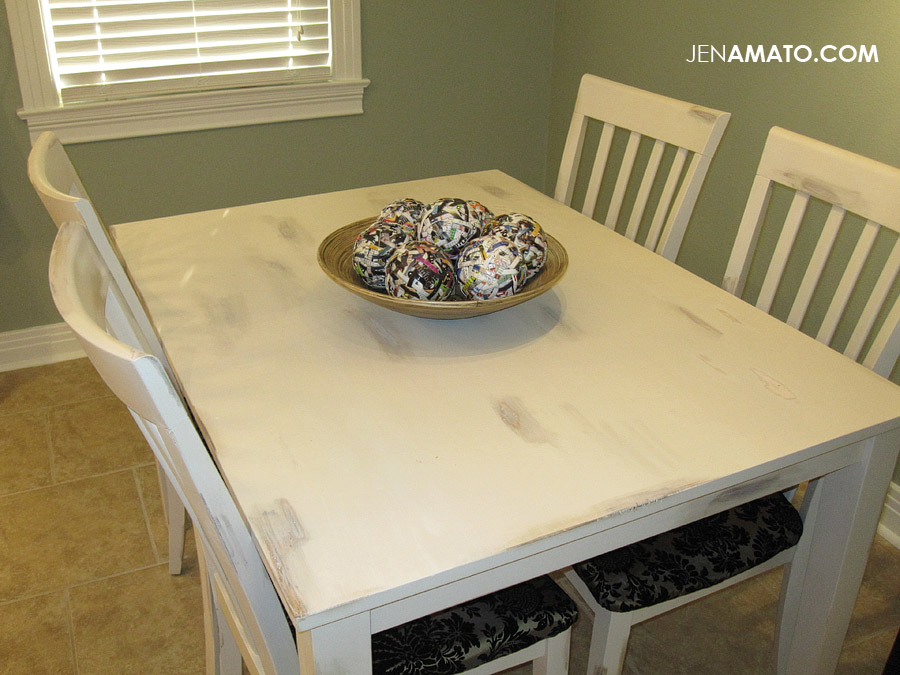
A closer look at some of the detail.
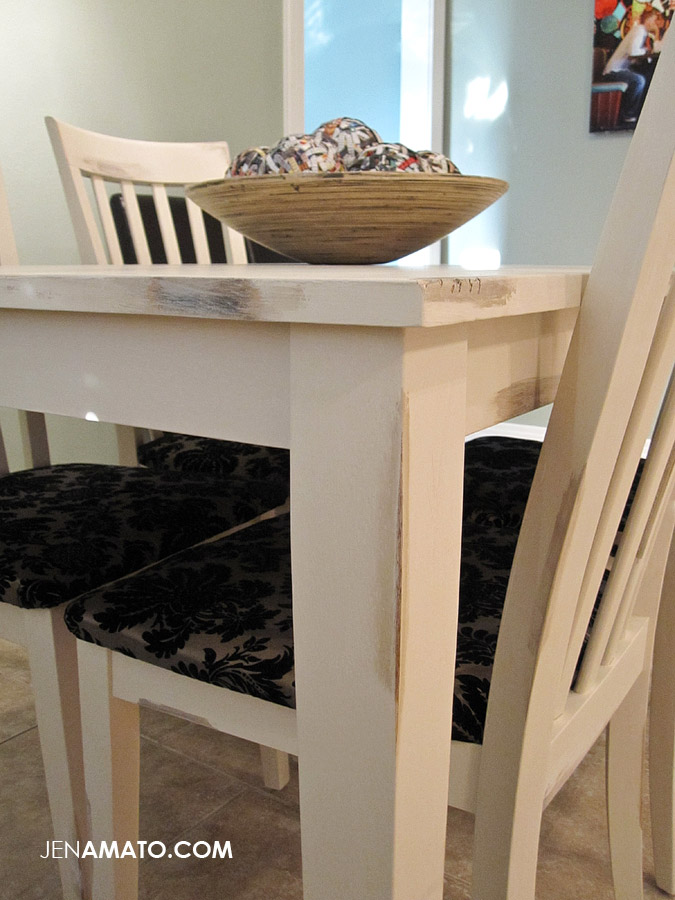
It’s so much more fun to make something like this come to life. Now, when we eat dinner here it reminds us of all the hard work we put in to making it beautiful. It’s not perfect, but its us. It matches our style and the whole vintagey theme we have going on in the house. More photos of the completed kitchen to come soon.